Setup mode
Edit your home from a dedicated Setup workspace, kept apart from everyday use.
On this page
Walldash separates using the house from setting up the house.
The everyday shell — what you keep on a wall tablet — only offers the views you use day to day. Editing tools are not peers of the 3D view in the top bar; they live behind a deliberate Setup button.
Everyday shell
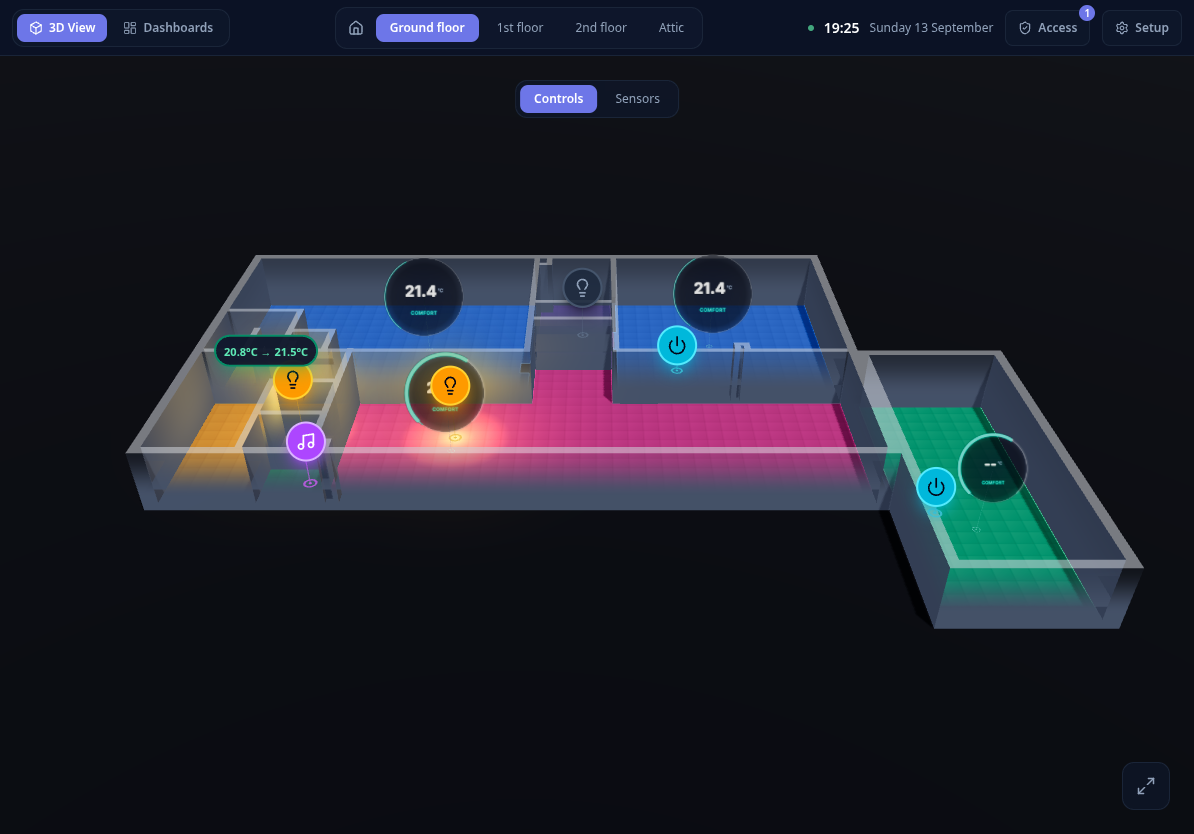
The everyday bar has two view segments (3D View / Dashboards), the live clock and date, and the Setup button. On the Dashboards view a dashboard switcher appears in the bar as soon as there is more than one dashboard.
Entering and leaving Setup mode
Tap Setup to switch the whole app into Setup mode. The button is context-aware: on a floor it opens that floor’s 2D editor, and on the Dashboards view it opens the editor for the dashboard you are viewing. The shell changes unmistakably:
- a SETUP MODE banner reminds you that you are configuring, not viewing;
- the five configuration areas are listed below the banner;
- Exit setup returns to the everyday shell — for dashboards it reopens the one you were editing. You can also press
Esc.
Focused editors (Floors & Plans and a specific Dashboard) hide the cross-section nav so they fill the height and preview the final result. Use Exit setup to reach the other areas.
Floors & Plans
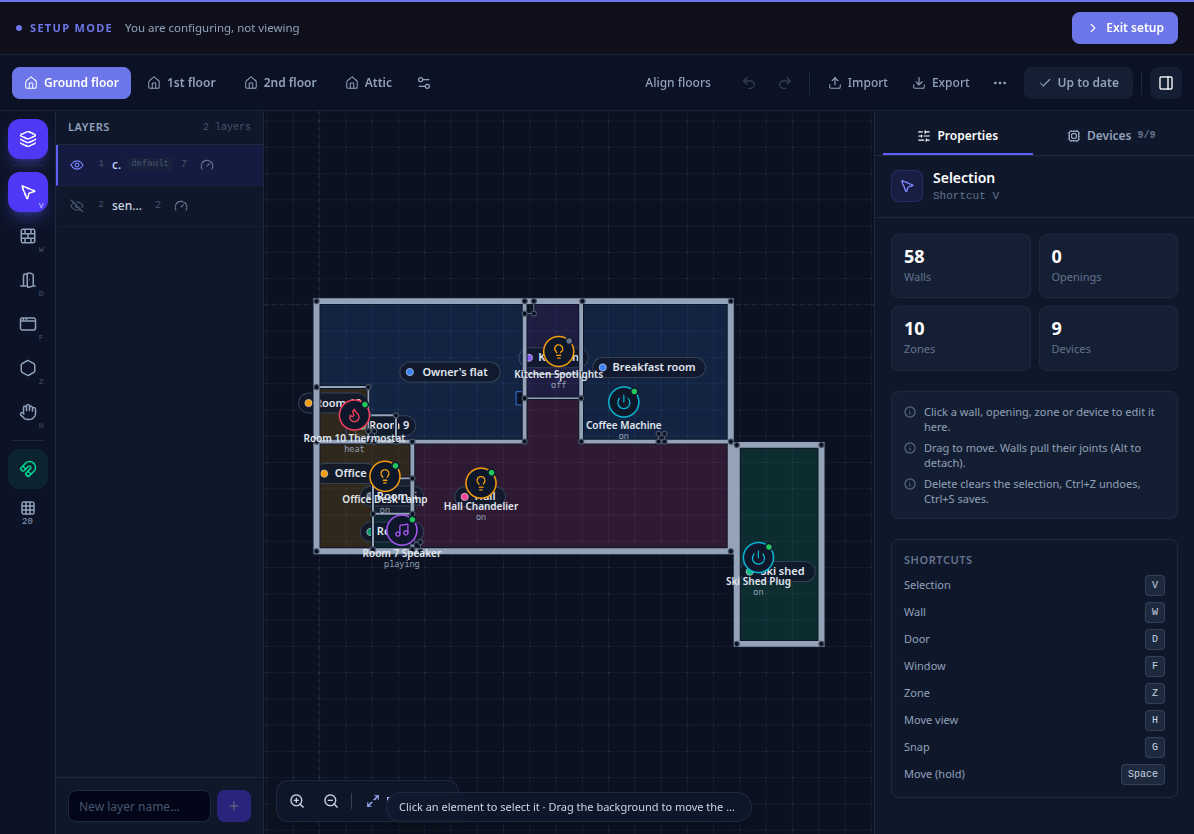
The 2D editor lives here. Trace walls and openings, define rooms and outdoor zones, place devices, and manage the layers of each level. See Plan editor (2D) for the details.
Devices
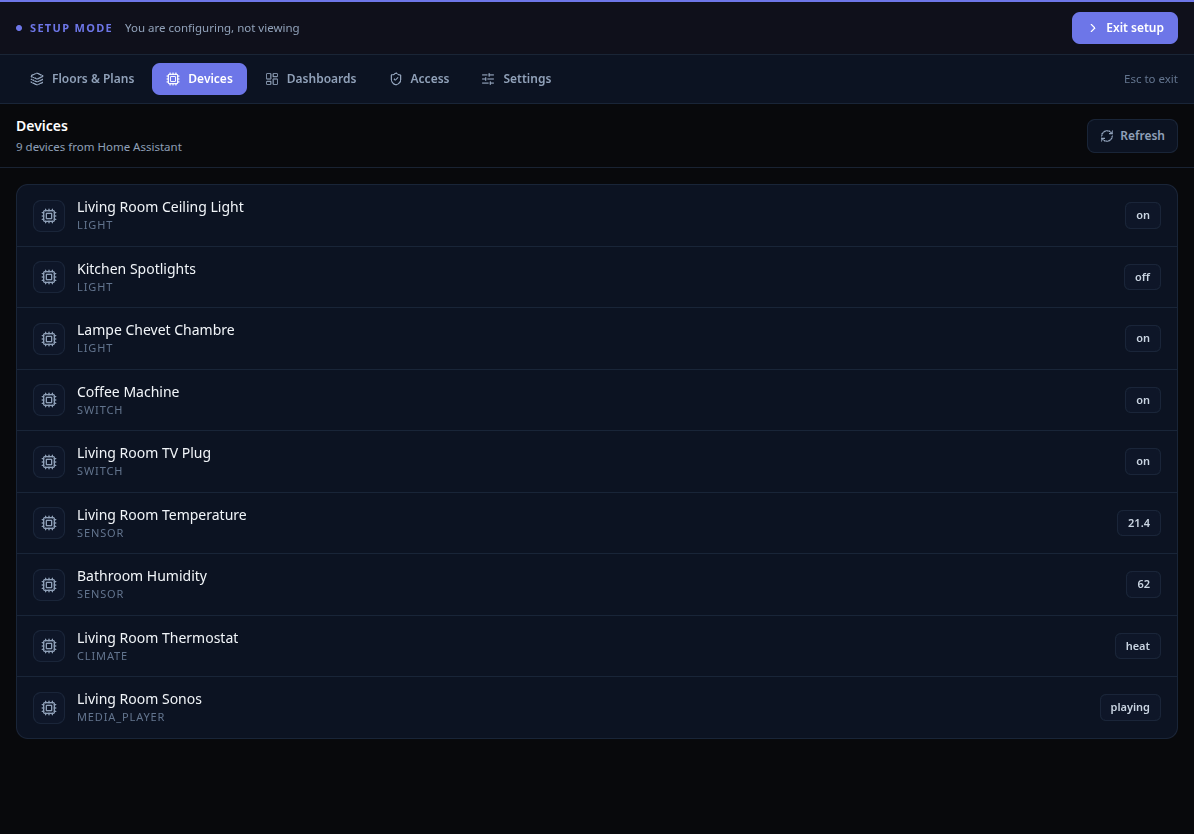
A read-only inventory of the devices Walldash exposes, useful to confirm that an entity is supported before placing it on a plan.
Dashboards
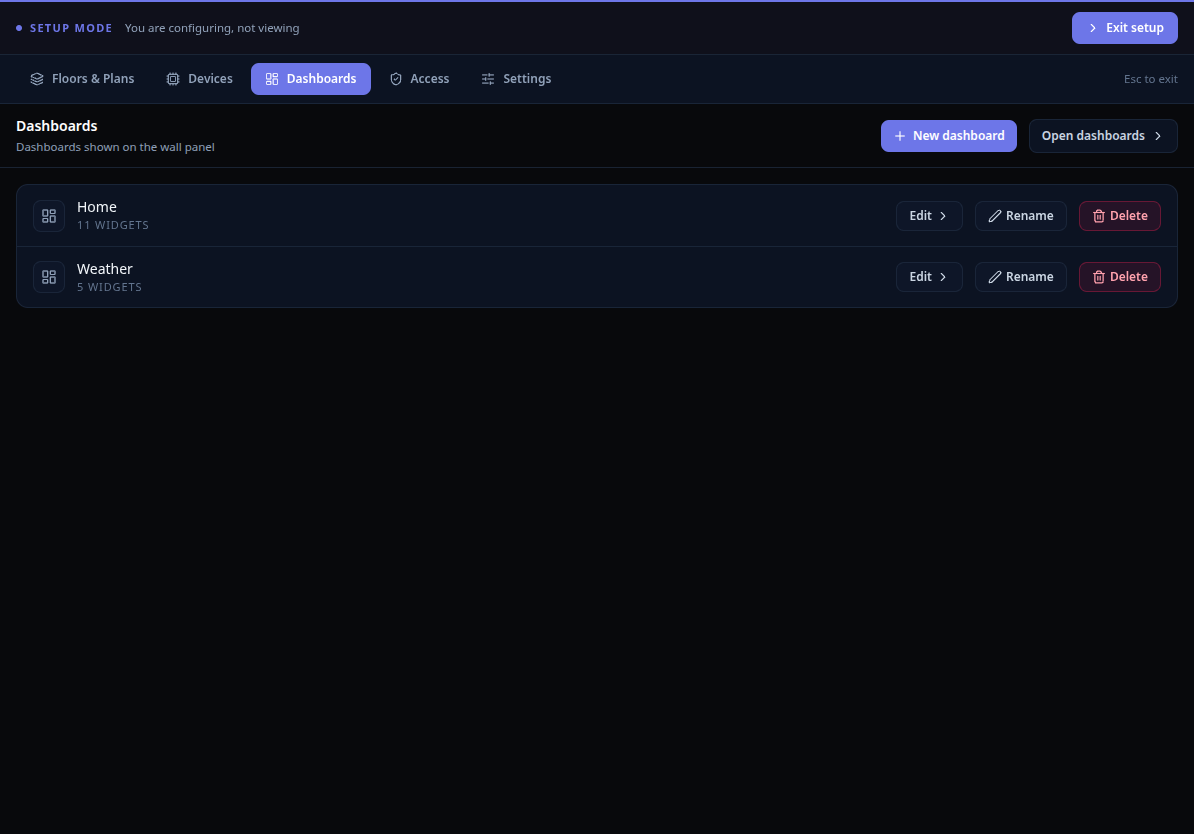
Manage your dashboards: open one to edit it, or create a new one. Rename, delete, layout, widgets and the per-dashboard background are all handled in the dashboard editor (see Dashboards ).
Access
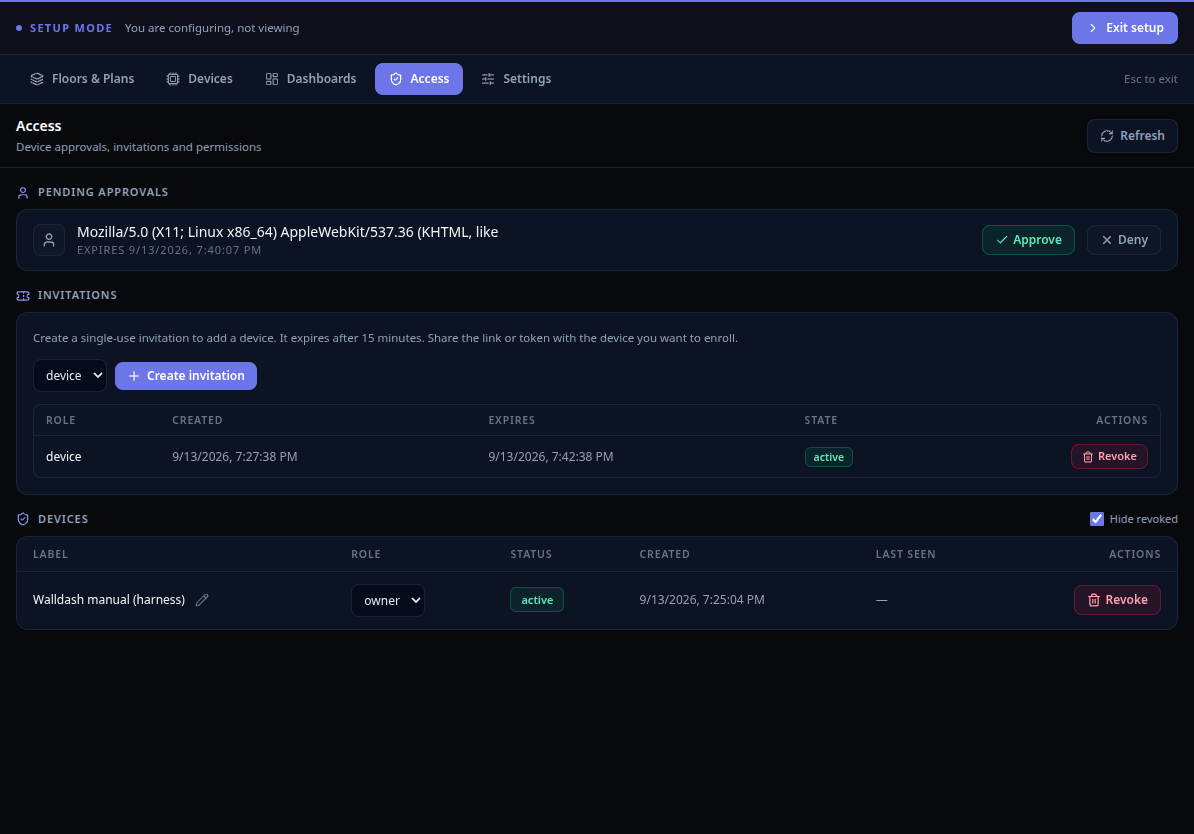
The Access area manages who can use Walldash and is available to owner and admin devices only. It is also reachable directly from the shield button in the top bar, which shows a badge while a device is waiting — no need to open Setup first.
- Pending approvals — devices that have opened Walldash and are waiting to be let in. Each entry shows the device name. Choose Approve to sign it in, or Deny to turn it away.
- Invitations — single-use links you create and share with a new device. Pick the role (device or admin), copy the link and send it. Each link works once and lasts 15 minutes. You can revoke an invitation that has not been used yet.
- Devices — every signed-in device with its name, role, status and last-seen time. Rename a device with the pencil icon, change its role (admin / device), or revoke it. Revoked devices are hidden by default; untick Hide revoked to list them. Owner rows are locked for admins: only an owner can rename or revoke an owner device, the last remaining owner cannot be removed, and only the owner can grant or remove the owner role.
- Revoke ends the device’s access immediately — its sessions and live connections are closed. To let it back in, approve it again or send a new invitation.
See Devices & access for the full picture.
Settings
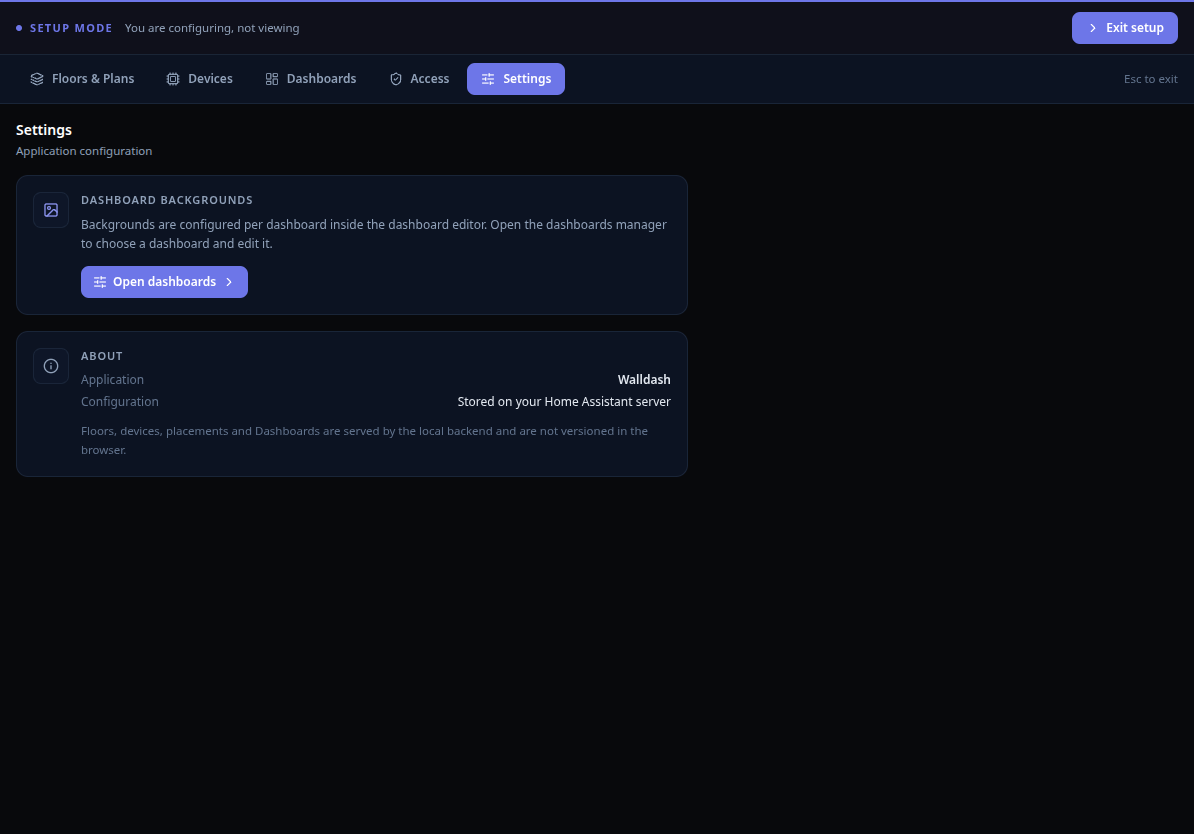
Global application options live here. The dashboard background is not one of them: each dashboard carries its own picture, edited in the dashboard editor.
Why two shells?
- The everyday surface stays clean and safe. On a shared wall panel there is no risk of tapping into an editor by accident.
- Editing is deliberate. It is a labelled mode with a clear exit, not a hidden toggle.
- One clear mental model. There is no admin toggle to find: you either use Walldash or open Setup to configure it.