Floor view (3D)
Control lights and switches, read sensors, and switch between display layers on a single floor.
On this page
The floor view renders one level as an isometric 3D scene. This is where you will spend most of your time on a wall tablet.
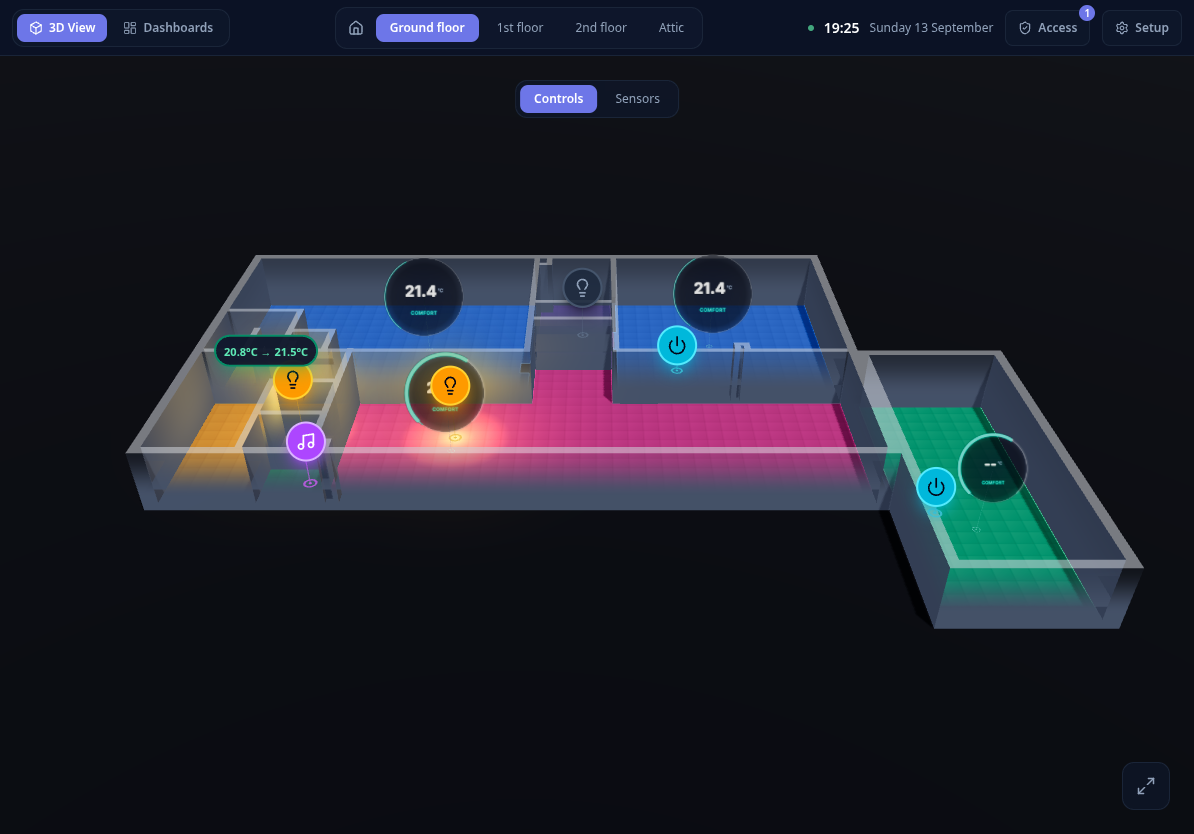
Controls
The controls layer shows your actuators — lights, switches, plugs and appliances.
- Tap a device to toggle it. The state updates immediately, with no page refresh.
- Lights that are on cast a colored halo around their room so you can see the state of the house from across the room.
- A device being toggled shows a short pending state until Home Assistant confirms the new value.
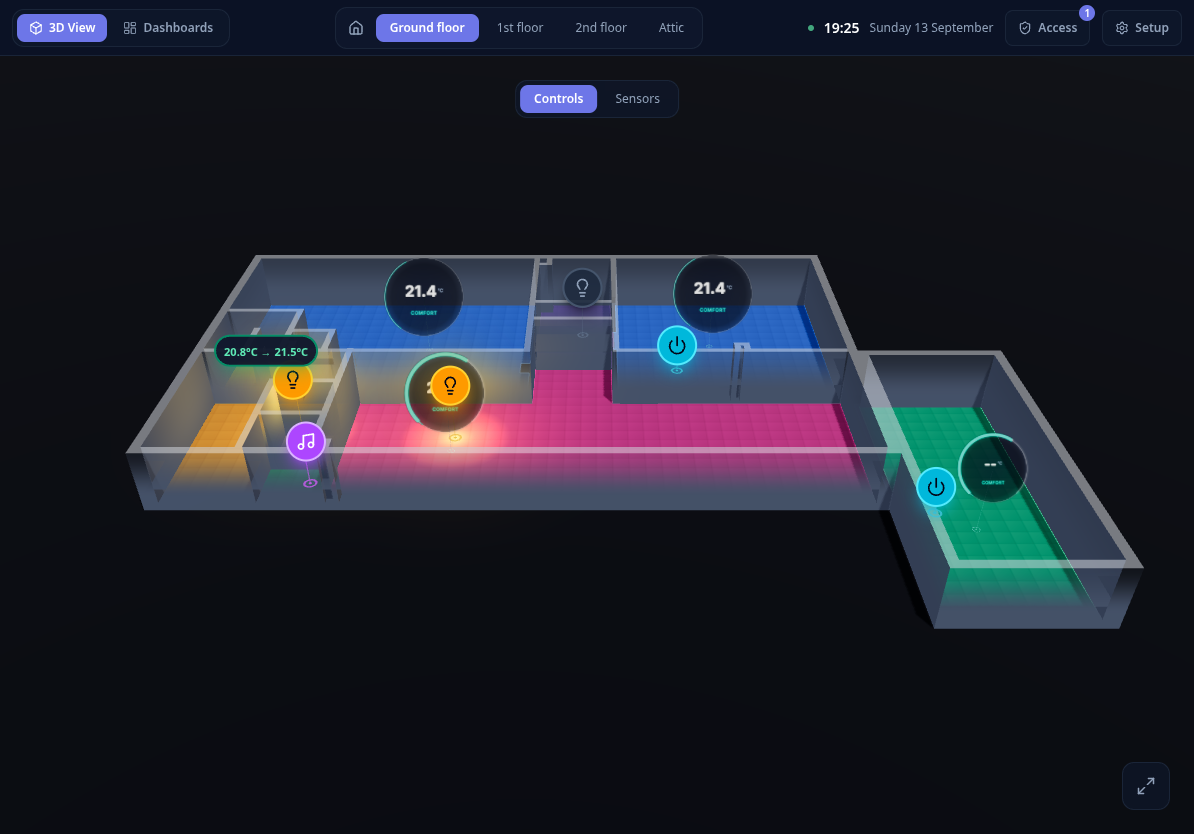
Sensors
The sensors layer shows read-only measurements. Each zone can be bound to a temperature and a humidity sensor in the plan editor . The readings float above the room they belong to and follow the 3D perspective.
When a reading crosses the comfort thresholds you configured for the zone, its label pulses and shifts color — blue when it is too cold, red when it is too hot.
Display layers
A level can expose several display layers. The two built-in layers are:
- Controls — interactive devices.
- Sensors — passive measurements.
Use the layer selector to switch between them. You can add more layers to a level in Setup (for example Evening or Security) and assign devices to them.
Navigating
- Use the level selector in the top bar to jump to another floor.
- Use the view switcher in the top bar to move between 3D View and Dashboards, and the Setup button to configure your home (see Setup mode ).
- The camera is fixed in an isometric projection: the bottom of the 2D plan always faces the front of the house. This keeps every tablet looking at the same, stable view.