First run & onboarding
Set up your first floor plan by importing a Sweet Home 3D file, restoring a backup, or starting from a blank level.
On this page
Sign in first
The first time a device opens Walldash, it is welcomed straight in — the first device becomes the owner automatically. Later tablets wait until an owner or admin lets them in from Setup → Access.
See Devices & access for adding tablets, invitations and roles.
Once a device is signed in, Walldash shows the onboarding wizard.
The onboarding wizard
When Walldash starts with no data, it shows the onboarding wizard. It offers three ways to create your home.
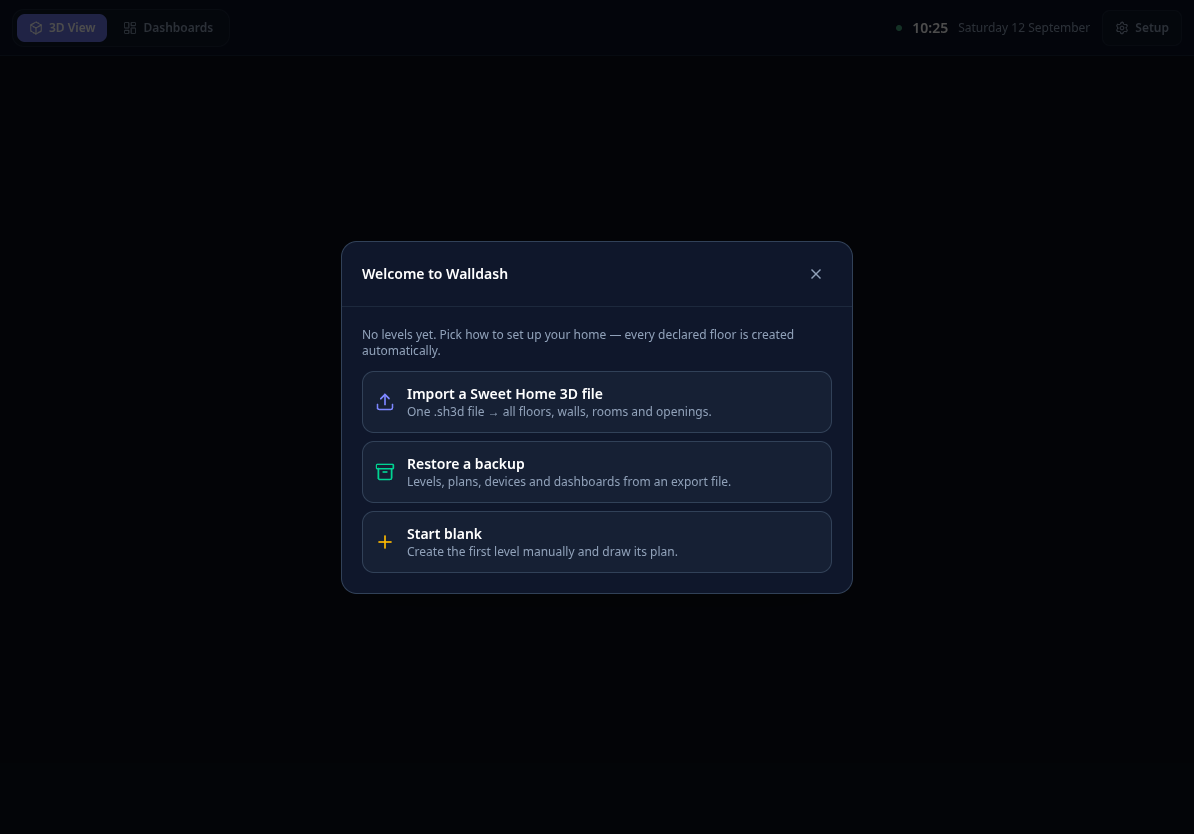
Import a Sweet Home 3D file
If you already have a plan in Sweet Home 3D , import it directly:
- Choose Import a Sweet Home 3D file.
- Drop your
.sh3dfile on the drop zone. - Every floor in the file becomes a level, with its walls, rooms and openings.
This is by far the fastest way to get a faithful plan. In the example below, a single .sh3d file produced four levels — Ground floor, 1st floor, 2nd floor and Attic — with all their rooms.
Restore a backup
If you previously exported your Walldash data (export produces a .json file), choose Restore a backup and drop that file. Optionally tick Also restore placed devices to restore the device placements and their entity bindings.
Start blank
Choose Start blank to create an empty level manually and draw its plan in the 2D editor. Give it a name, and mark it as an outdoor area (garden, patio…) if needed.
Levels and layers
Each level has one or more display layers. Two layers exist by default:
- Controls — the interactive devices (lights, switches, plugs).
- Sensors — the read-only measurements (temperature, humidity).
You can switch between them from the floor view, and add your own layers from the level settings.
Next steps
Once your home is created, the dashboard opens on the house overview . A default Home dashboard with a 5-day weather forecast already exists, ready to extend in Dashboards .